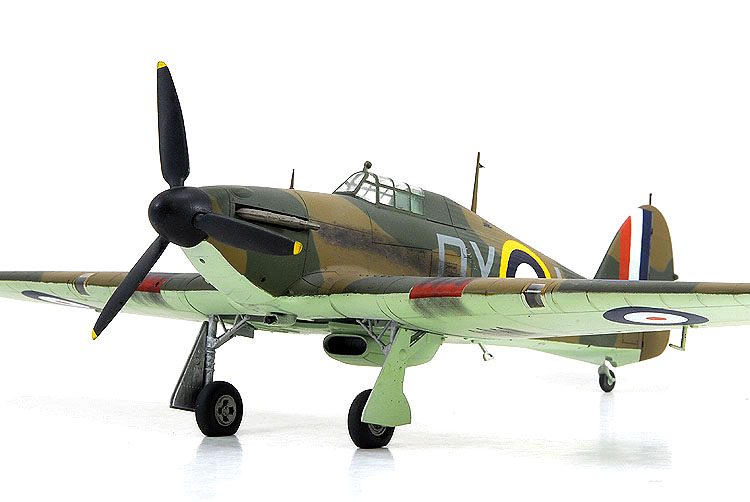
After all these years the only thing that bugs me about thsi model are those ridiculously flat True Details wheels.
Kit:
Aftermarket:
Date:
Hasegawa (09065)
True Details resin wheels (48027) and Aeromaster decals (SP48-05)
2001
When Hasegawa released their Hurricane line in the late ninties, I was quite exited. Here was a model of one of my favorite fighters, one with a strong Canadian connection to boot.
I recently purchased the Battle of Britain Mark I kit, to begin using some of my aftermarket AeroMaster decals. It should be explained that I really only wanted to construct "Willy"
McKnight's Hurricane, since he was a RAF ace born and raised right here in Calgary. AeroMaster includes McKnight's markings in their large Battle of Britain set (along with another 3
Hurricanes, 4 Spitfires, 8 Bf109s and more). However, I chose to do another aircraft, and use this kit as a learning tool. Being Hasegawa, one doesn't really need to build a test
kit, however I wasn't going to waste $30 in decals if I made a mistake (a rather common problem with me).
Moulded in Hasegawa’s typical medium grey styrene, this kit features beautifully thin recessed panel lines. To some people, this is offset by the exaggerated scalloping on the fabric
portions.
The interior of the Hurricane is stunning. The base for the cockpit is quite simple; tubular sidewall framework, floor, instrument panel and rear frame. Also included are several
small levers for the seat's adjustment as well as a set of very fine (and delicate) rudder pedals. The cockpit wasn't installed into the fuselage because of my method of assembly.
For now, just trust me when I say, "the cockpit will fit after assembly." For those modeller's who just have to have photo-etched or resin details - the cockpit doesn't need any
extra parts. If anything is required, it would be some seatbelts.
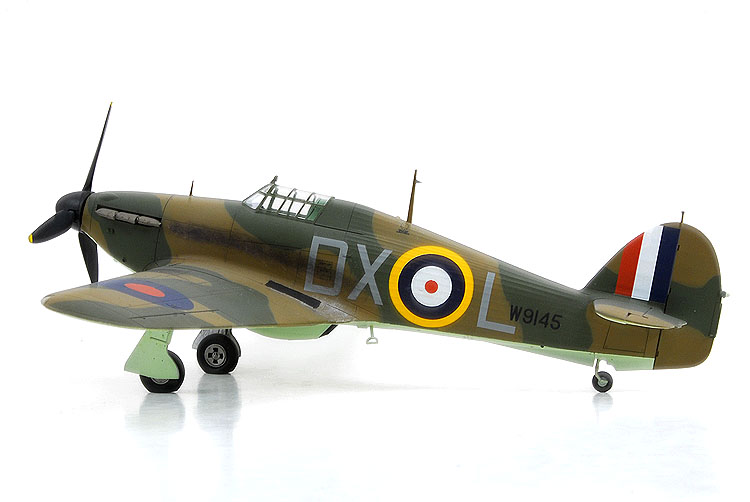
The fuselage fits together nice and tight, and features beautifully engraved panel lines. Some may argue that the fabric pattern has been over done on the aft fuselage but it doesn't
bother me. Hasegawa features a seperate forward fuselage, which allows them to create several different marks without completely retooling the molds. As a result, Hasegawa instructs
the builder to assmble both the forward and aft fuselages, then join them together. Since Hasegawa's method doesn't provide much surface area for gluing, I chose a different method.
I carefully glued the forward and aft fuselage halves together to create a single whole fuselage half from the previous two peices. This was done on a flat board to keep the assembly
from warping. Internally I reinforced the joints with superglue, and repeated the process for the second side. As a result of this change, I only had two pieces to mate rather than
four, making alignment much easier. Once the two fuselage halves were glued together I returned to the cockpit. I painted the sidewalls and small details (this could have been done
before assembly). Finally I fit the cockpit into location. See, I said trust me!
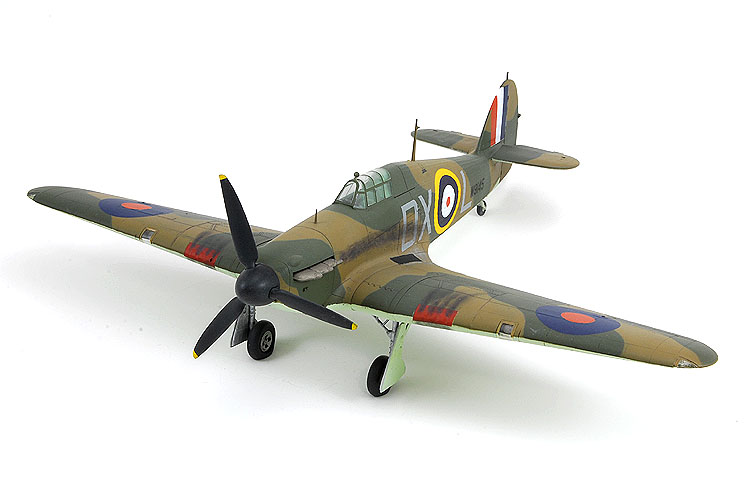
The wing fits together quite well. Be careful however, when fitting the leading edge plugs in place. Like the forward fuselage, these were done for different variants. When
assembling the landing gear wells, especially when building the landing gear legs and their support structure - follow the instructions. If you don't you'll risk breaking the
delicate pieces when you force them together.
The fit between the fuselage, wings and tails is almost perfect. Only a hint of liquid putty might be required. There is a slight gap between the lower aft fuselage and the trailing
edge of the wing, where the fabric patterns don't match exactly. Glue the window into place to seal the cockpit. The landing gear doors, antennas and other small probes should now be
attached. Again, be careful because they are scale, and as a result, very delicate.
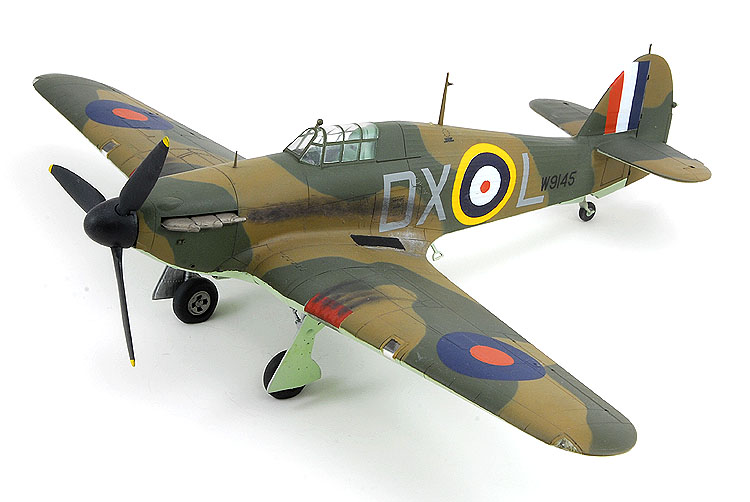
I chose aircraft DX*L as my test plane. The decals were then applied, and went on quite well responding to Gunze's Mr. Marksofter. Again, another coat of Future and then a Polly
Scale Flat Coat. Slight weathering behind the exhaust and gun ports, and a gentle wash in the panel lines and I had a completed Hawker Hurricane.
Although it was a simple build, this Hurricane did show me a couple minor areas to watch for so I didn't end up wasting my valuable Willie McKnight decals on
the next one.