Kit:
Aftermarket:
Date:
Hasegawa
Black Box resin cockpit and Aeromaster decals (48-529)
2005
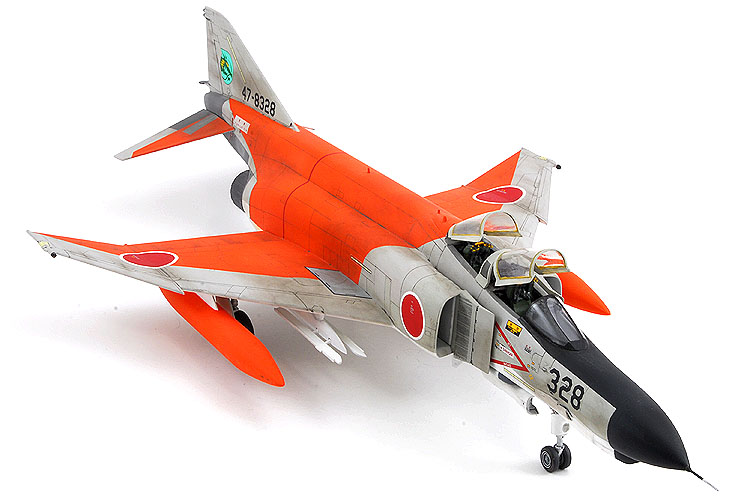
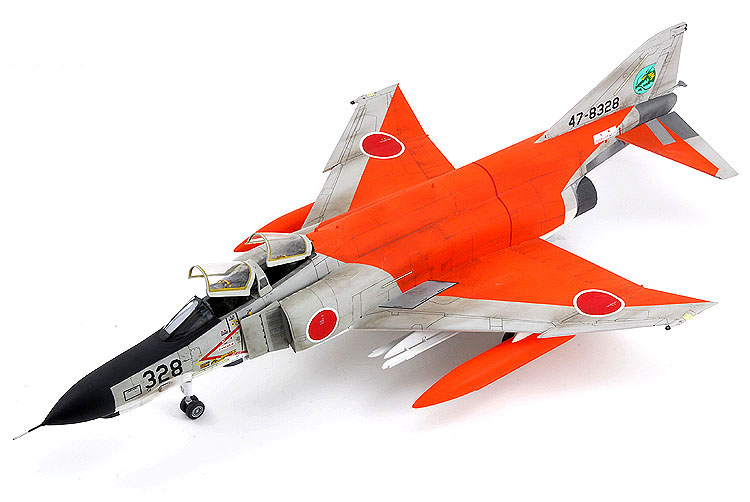
Let me start off by saying that I am not a fan of the Phantom, nor do I have an interest in modern Japanese aircraft. Instead this model was built strictly because of a bright,
eye-catching colour scheme.
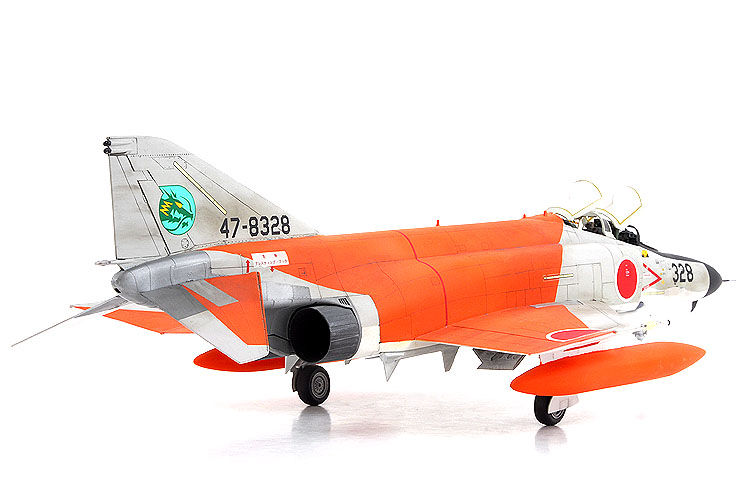
Hasegawa’s Phantom kits are regarded by many modelers among that company’s best offering for modern jets. I don’t know if this is so, but it’s an improvement over the crappy F-18B I
built last year. The parts come moulded in a typical light grey plastic and feature finely recessed panel lines and well defined details in the cockpit and landing gear bays.
The cockpit provides adequate, if not understated details, which I chose to replace with Black Box’s resin F-4E cockpit set. This featured some amazing details, but most of these
are hidden once the eject seats are inserted, or the fuselage halves jointed. By the time the canopies were covered, the extra effort and money I spent on the resin bits disappeared
completely. The pilot’s instrument panel had to be removed from the kit which left a large hole that had to be filled before installing Black Box’s parts.
Following the insertion of the cockpit, I glued the fuselage halves together and dressed their seams with Gunze’s Mr. Surfacer. The wings too needed their seams touched, especially
on the joint between wing and lower forward fuselage. Construction wasn’t complicated but as I’ve noted, the kit did leave some small gaps in the plastic.
Painting this model started by finding the appropriate colour for the bright orange, which as it turned out was Model Master acrylic’s International Orange. I undercoated the model
with Polly Scale Soviet Brown #2, which has a light orange appearance. The International Orange was sprayed overtop and masked so I could paint the standard Japanese colours of
Gloss Gull Grey and White. The rear fuselage was painted with a combination of Model Master’s aluminum and stainless steel metalizers.
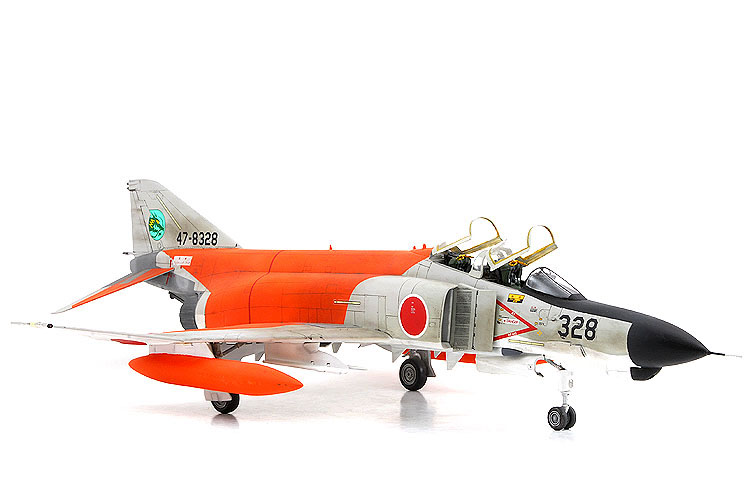
The decals were supplied from an Aero Master decal set and responded well to Gunze’s Mr. Marksofter. The short coming was that this $30 decal set didn’t include the prominent
stencils (which had a grey background).
While the model was still glossy, I mixed up a combination of black and grey pastels and weathered my model with my first pastel ‘sludge wash.’ I liked this technique and will
certainly use it again. I sealed the pastels with Polly Scale’s clear flat acrylic paint, then applied some large stains to the orange paint with more ground up chalks and cotton
swabs. A second coat of clear flat sealed these pastels too.
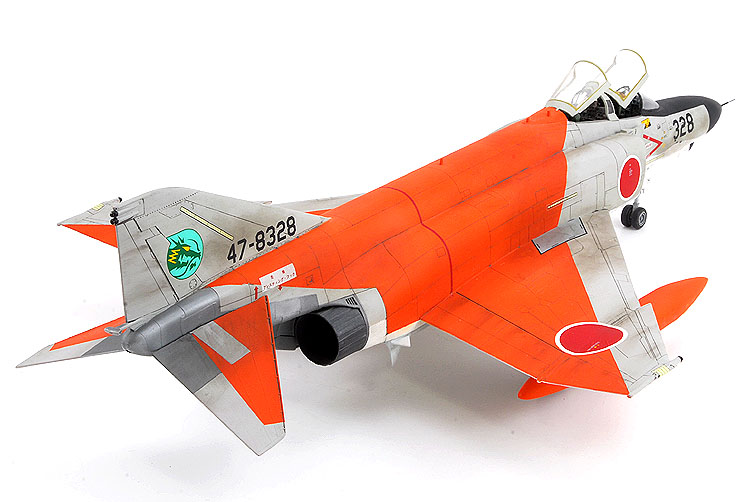
The underside was weathered by using regular household HB pencils and some artist’s smudging sticks (tightly rolled pieces of paper). I had to do this because the flat white paint
just absorbed all of the liquid from a failed attempt at panel line highlighting and I didn’t want to risk the same with the pastels.
This wasn’t a hard model to build, slowed for a few years by my lacking interest in the subject. If you’re into Phantoms then the Hasegawa kit is the best way to go, but I’d save
the money on the resin cockpit set.