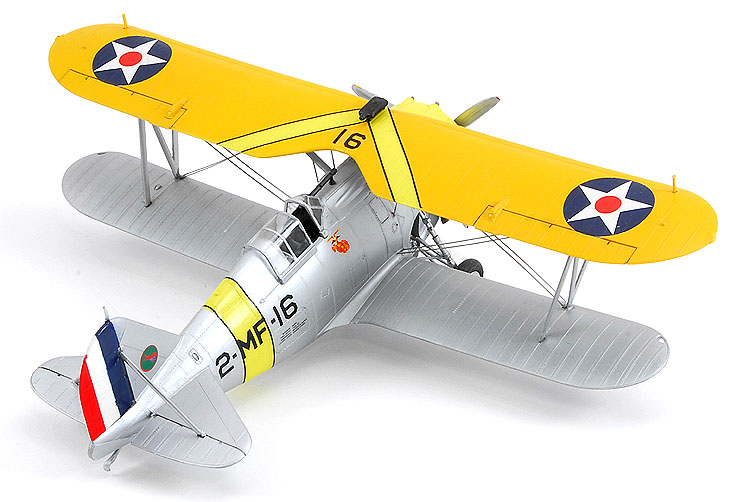
From this angle it's easy to see why US Navy airplanes in the 1930s were called 'Yellow Wings'.
Kit:
Aftermarket:
Date:
Accurate Miniatures
None
2003
When people mention the Grumman Aircraft Corporation, images of sleek and sexy aircraft come to mind F-14 Tomcat, Bearcat and Hellcat. But in the 1930s, sleek and sexy were not as
important as functionality, hence the looks of the F3F series.
Accurate Miniatures should be commended for taking the time to manufacture a kit of these non-mainstream subjects. Following behind the F3F-1 kit is the F3F-2. Similar in design to
the -1, the major difference between models is a different upper wing and a larger Wright Cyclone engine (same as a B-17). The kit comes moulded in light grey plastic with
photoetched details (engine, cockpit, exterior and rigging), and a set of beautiful decals; allowing the modeler the choice of building any of all the F3Fs ever built (try that with
a Bf 109 or F-4).
The cockpit comes with a base, with fold up sidewall panels, beautifully detail instrument panel, and nicely moulded pilot's seat. Paint everything aluminum, and install your choice
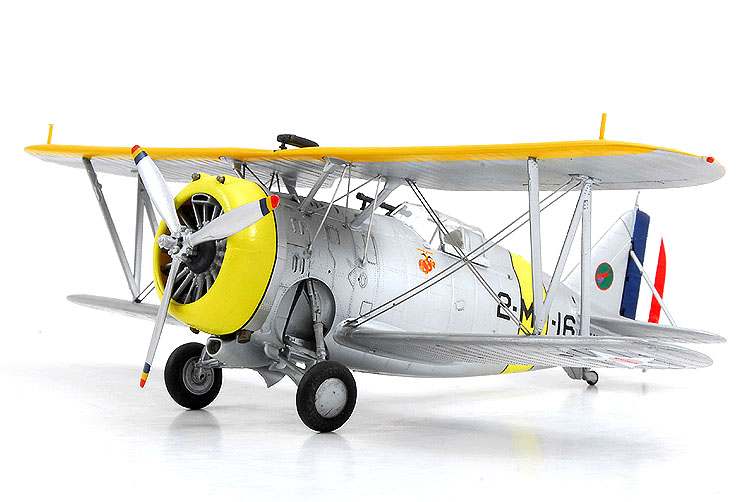
of photoetched, or decal seatbelts. This kit's Wright Cyclone is one of the best looking radial engines I've ever seen on a scale model. Comprising of a single row of cylinders,
exhaust collector ring, crack case front including pushrod covers, and a photoetched wiring harness the engine looks fantastic when finished.
The fuselage, wings and tails simply fall together; absolutely NO putty is required anywhere on this kit! Pay careful attention to the upper forward fuselage installation; use only
a minimum of glue to cement this piece into location. The wings are self-aligning, thus eliminating fancy jigs to line all the parts up. I held my upper wing in position to use as a
reference for dihedral. I then glued the lower wings in place, and allowed them to dry. Leave the upper wing off until you've finished painting; it's easier to mask for the yellow
surface. The only difficulty at this stage was the external bracing for the horizontal stabilizer. Careful dry fitting and trimming is required here, before committing anything to
glue.
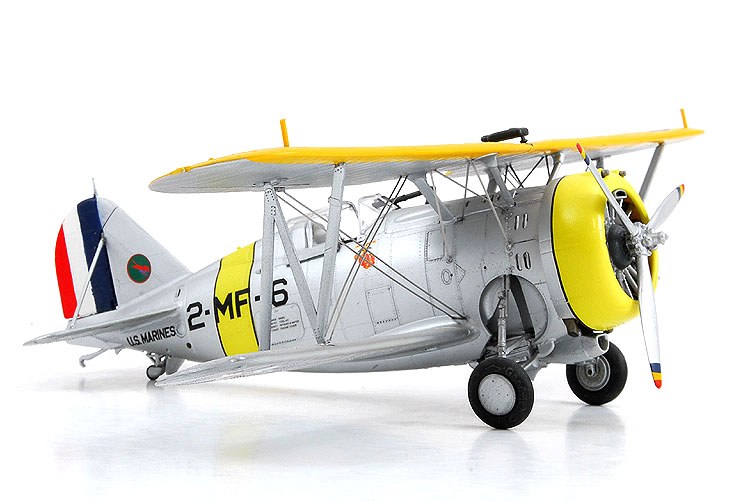
The main landing gear of the F3F series is rather complex, comprising of 2 a-frames and a vertical brace. Follow the manufacturer's instructions for this point. Remember to
carefully dry fit the parts together, they can be rather "fiddley" and delicate.
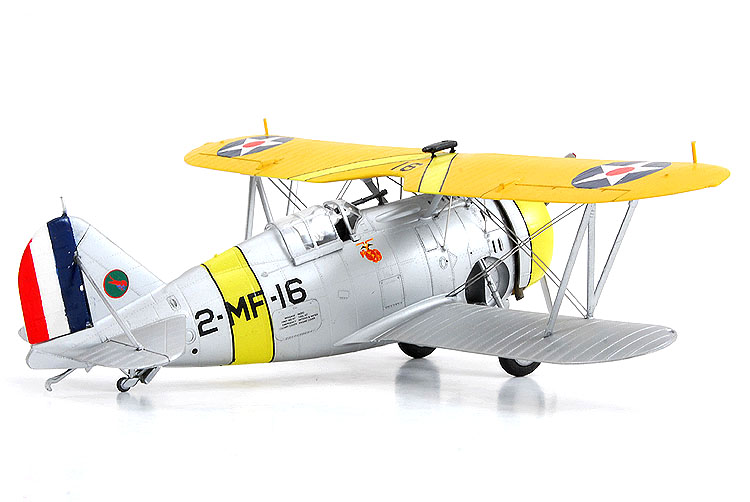
Painting was a simple affair using a selection of Model Master enamels. Markigns came, naturally, from the kit's extensive decal sheet.
This is an absolutely beautiful kit.
Getting down low, it's also easy to see how the F3F earned the nickname of 'Flying Barrel'. Accurate Miniatures' inclusion of photo-etch rigging was a huge help in ensuring all the rigging was properly spaced. Without it, I probably would not have bothered trying to add any flying wires to this model.