Kit:
Aftermarket:
Date:
Tamiya (32531)
None
2007
Fast and maneuverable, reliable, easy to manufacture and service, and available in a wide selection of special-duty variants, the Sherman was the most successful primary Allied
battle tank during WW2. Light armour and exploitable weak spots made Shermans easy targets for German tanks with their superior guns, but superior designs were no match for mass
production; many German tank commanders remarked that the biggest problem with the Sherman was that every time they blew one up, two more would take its place.
But no tank crew was willing to sacrifice themselves as targets and crews improvised makeshift armour to increase their chances of survival. The German guns still had a longer range
and the allies needed a solution - fast. That solution was to simply replace the 75mm cannon with a British 17 pound gun, a change requiring a redesigned turret. Once modified, these
new tanks, christened ‘Fireflys’ were able to attack and kill better armoured German Panzer Vs and IVs. Even the occasional Tiger I fell victim. Some 2,200 Fireflys were converted or
built, but they were only a small fraction of the Sherman’s 50,000+ production.
For some reason the smaller scales have been overlooked by armour modelers for decades. In the last couple years 1/72nd scale has exploded, while Tamiya has slowly begun a line of
1/48th scale subjects.
Looking at the boxes, and knowing that I was running out of display space, I felt an increasing urge to start on Tamiya’s smaller tank models. Naturally I was drawn to the Sherman
kits (German stuff does very little for me), specifically the lower costing Firefly IC.
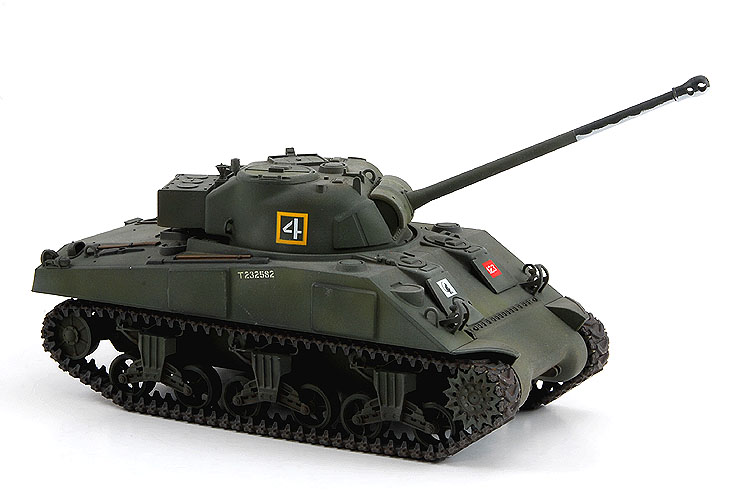
Inside the box there’s basically an M4 Sherman with a new turret, longer barrel and numerous pieces of appliqué armour plating. Everything is moulded in olive green plastic. Four
nylon bushings are included, as is a pre-primed metal lower hull. Why metal you might ask? I asked myself that too but found the answer in a magazine ad. According to Tamiya the
metal hull adds “a satisfying weight.” Funny, I’ve never been unsatisfied with the weight of any of my plastic model kits.
A small decal sheet is included with markings for a quartet of British subjects.
I started by working on the main hull. Because several different Sherman kits share the same sprues, you’ll have to be careful in choosing the correct pieces. Since I just wanted a
Sherman on my shelf, I opted to close all the hatches and limit my detailing to only what’s included in the kit. From what I’ve seen, aftermarket in this scale is still quite limited.
The worst part of the construction was getting parts attached to the metal hull. Because of the dissimilar materials super glue has to be used, but that means there’s no time to
allow for fine adjustments in fit. I had to be very careful when getting the front mantel installed. Tamiya has also conveniently forgotten (as with all their Sherman kits) that
Sherman hulls were closed above the tracks.
One of the nice things Tamiya includes is long strips of track links. I hated the thought of having to piece together hundreds of links, so these long pieces are a god-send. One only
has to remove the seam line along the edges, and install them. Smaller pieces can be positioned to close the full loop. The downside is that there are a lot of ejector pin marks on
the inside. I didn’t fill these.
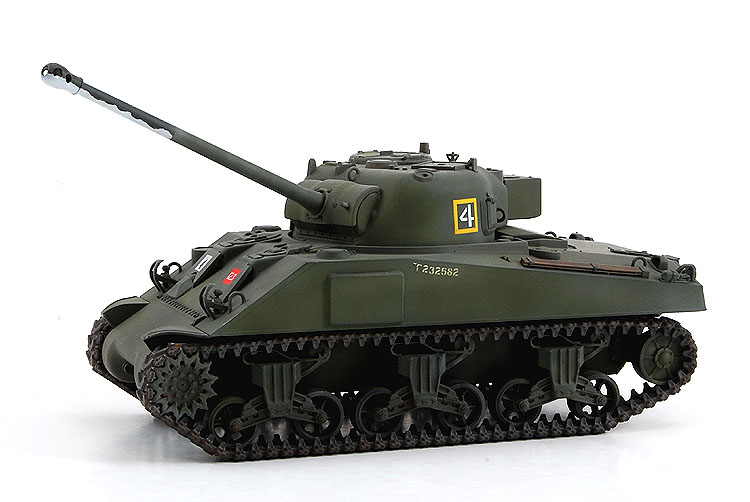
It’s a tank – so that means it’s green. I decided that I wanted to try a little pre-shading and started by painting the recesses and weld lines with Polly Scale German Night Black. I
then had to find a match for the Dark Green used by the British – it’s not Olive Drab. After lots of searching on the internet, and looking at photos, I opted for one modeler’s
suggestion and used the same dark Green used by the RAF. The paint was applied by airbrush, leaving a splotchy, uneven pattern while keeping some of the black visible in the shadows
and crevasses. I was quite happy with the way the pre-shading and uneven Dark Green really helped break up what would have otherwise been a very uninteresting green brick.
The forward half of the barrel was masked and sprayed with thinned flat white. A slightly different shade of green (I think it was Imperial Japanese Navy Green) brushed over the top
half. Some tank crews camouflaged their longer barrels by painting the end a light colour. That’s what this represents.
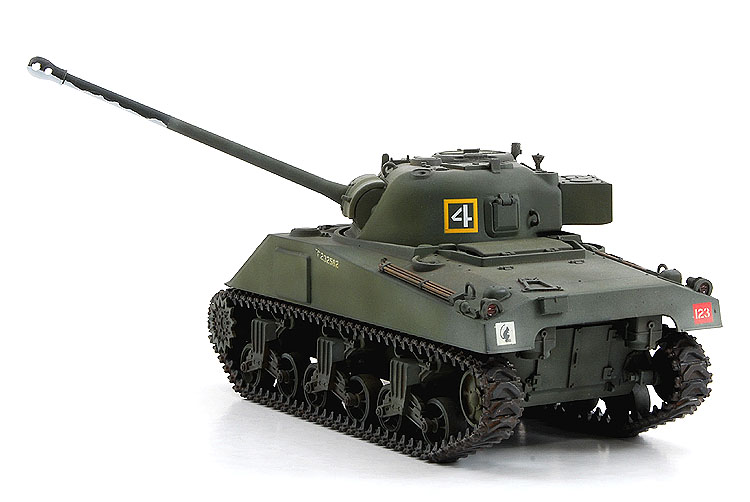
With the basic paint work finished, I sprayed the model with Future floor wax and applied the decals, which I chose because of their size and colour. Another coat of Future sealed
them, then I was able to flat coat everything. A combination of thinned brown paint, and lightly airbrushed Polly Scale old concrete ‘dust’ weathered the model enough for my tastes.
The tracks were painted Polly Scale Grimy Black, then dry-brushed and washed with brown and dark grey. I then airbrushed the inside of the tracks with old concrete because once they
were assembled I knew I wouldn’t be able to get inside there.
Part way through painting, I discovered a mistake – the gun wouldn’t fit the turret. At first I thought I’d been in a rush and glued the mantle in place wrong, but that piece is
keyed and the half-moon tab couldn’t be wrong. Nope, it turns out I glued the gizmo inside the turret in upside down. The fix would mean breaking the turret apart, so I opted to
carefully cut the tab off the back of the barrel and reattached it, turned the opposite way. So much for actually reading the instructions.
Test fitting also showed that the rear of the upper hull wasn’t sitting properly on the main supports, and looking closer, I discovered that two of the parts installed on the rear
bulkhead were interfering. I don’t know what they were, but a course sanding stick, a couple minutes and some testing fitting removed some excess material without affecting the
model’s appearance.
With everything painted, the last step was to install the lengths of plastic tracks. Because flex-time was needed to make final adjustments, Tamiya liquid cement was used. Unlike
super glue, this afforded me some time to tweak the parts until they fit.
Well it certainly looks like a Sherman. And I’m happy with my first armour model – especially the paint job.