Sometimes you just have to throw realism to the wind and enjoy building something crazy. That is exactly what these egg planes are.
Kit:
Aftermarket:
Date:
Hasegawa
None
2007
Back in 1976, Hasegawa released their first egg-plane model. In a country fascinated with doe-eyed anime and celebrity bobble heads, these cartoon airplanes fit right in. In
following years the egg-planes would return, growing to include a number of WW2 fighters, a space shuttle, and some modern jets. The F-18 Hornet debuted in 1997.
These kits aren't complicated; in fact they're intended to be quick builds, probably aimed at kids. As such, some egg-planes even have a small diorama included.
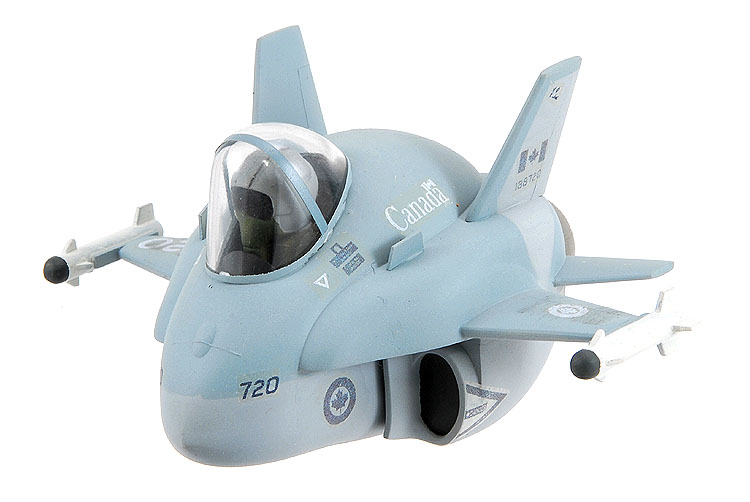
When I first spotted the F-18 I knew I wanted one in Canadian Air Force colours. This presented some problems. First, I missed out on the 1997 release and had to wait 10 years before
they were reissued. Secondly, no one makes aftermarket decals for egg-planes.
Construction was quite straight forward. I mean, there's only about 20 parts in the box. By leaving the landing gear off, it made it just that much easier. A touch of Bondo glazing
putty was applied to fill the small gaps around the underside of the wings and tails, and the base of the vertical stabilizers. A swipe with acetone based nail polish remover
(courtesy of the Mrs.) meant I barely needed to do any sanding. Bondo was also used to fill in the recesses for the wheel wells.
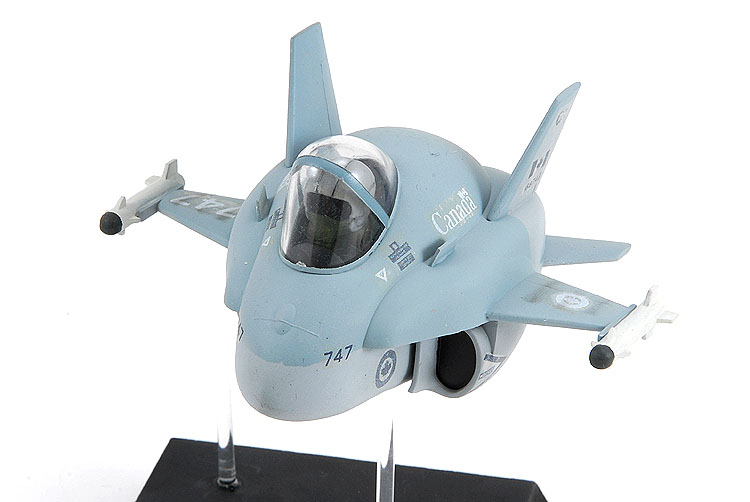
My plan was to mount the models in an in-flight display, and to support the models, I planned on using some 1/4" clear acrylic rod. This naturally meant I'd need some support inside
the models, but in my haste, I forgot about this important step until after the fuselage halves were together. My solution was to drill a hole through the bottom of the fuselage, and
then continue through to add a divot on the inside of the upper fuselage. I made sure I didn't go too far and drill through the upper fuselage. I really didn't want to have to fix
it. By leaving the engine nozzles off until the very end, I was able to reach dip the tip of the clear acrylic rod in super glue and watch through the exhaust holes as I made sure
the rod nestled into place in the divot. Let this be a lesson to think things through before you build.
To complete my conversion to Canadian CF-188, I added two LEX fences cut from 0.010" thick sheet styrene. I didn't make any measurements (for the first one), but eye-balled something
that looked distorted enough for an egg-plane. It turned out that I'd chosen a length of 6mm.
One unfortunate part of this model is the canopy. For some reason Hasegawa moulded four sprue gates to the canopy, and since there's no canopy frame, they're directly on the clear
areas. I carefully cut the canopy off the sprue, sanded, polished and dipped in Future, but I still had a couple blemishes. My solution was to mask the canopy about 1/16" off the
fuselage.
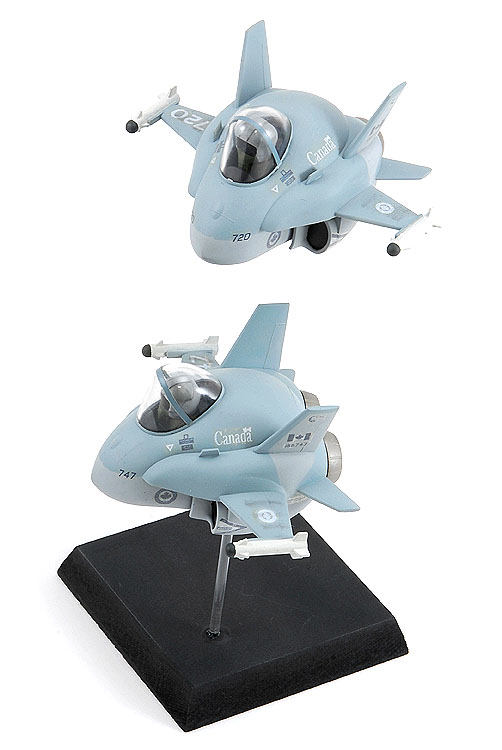
Yup, these guys were going Canadian, so I broke out some Model Master enamels and a painting guide from Leading Edge Models and blasted the greys in place. I needed some paper masks
(mostly small Post-It notes) to mask the pattern though. It really helped that I was at Invader Hobbies while I was painting, so Scott was able to hold them in place as I sprayed.
I mentioned before that no one makes decals for egg-planes. That's understandable. I mean, how big can the aftermarket be for these models? However, we live in the age of ALPS
printers, and talented graphics artists. So I emailed a request to Bill Burns at CanMilAir Decals (canmilair.com) and asked if he could manipulate some of his existing graphics to
suit my needs. Boy was I surprised. Not only was Bill interested, but he'd emailed me a proof of the artwork in less than a day!
Unfortunately my excitement for his product disappeared quickly. I'm not afraid to say these were the worst decals I’ve ever used (sorry, I'll make that the second worst – Leading
Edge's civilian DC-3 sheet exploded like an atom bomb when they hit water). Every one of them folded in half. I was only able to get them on my model, because my wife helped pull the
backing paper away as I held the decals in place. Then some of the decals came off as I pressed out air bubbles, and even with a coat of Future, about 1/3 of the markings silvered.
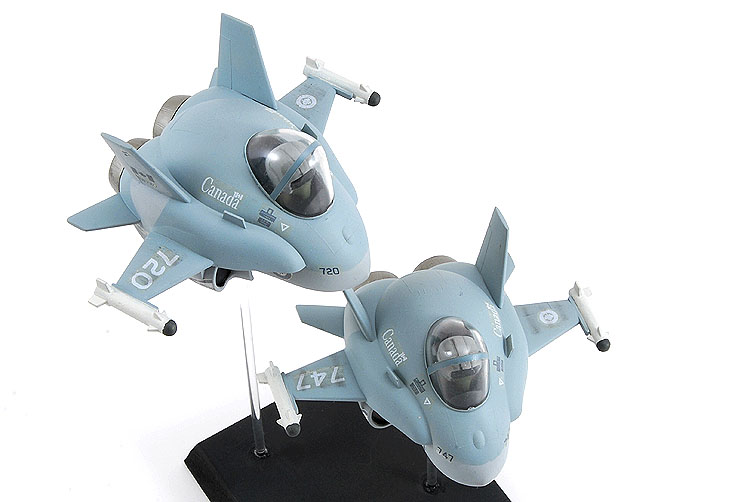
It's been 10 years since I first thought of making a Canadian Armed Forces egg-plane Hornet, and he they finally are. They're fun, and easy to build. They're good for a chuckle, both
from the modeller, and from viewers. And they're affordable. Even before I reached the painting stage with these two, I was asking myself, do you think I could do a colourbird?
Take a break from that super detailed, high priced, ultra accurate wonder kit and have some fun – because that's exactly what these kits are.